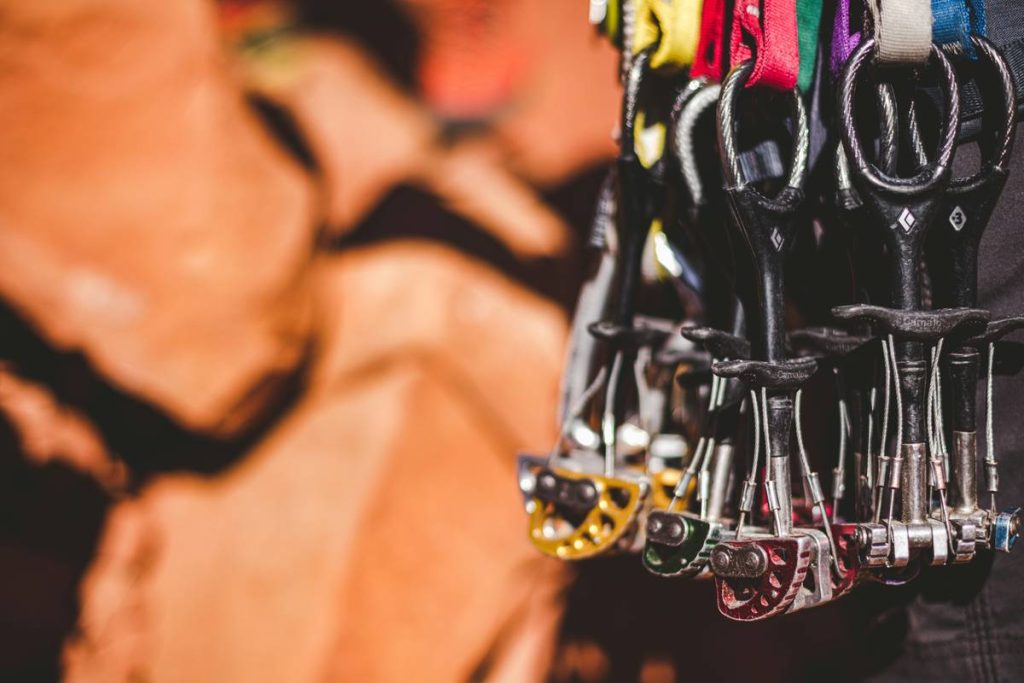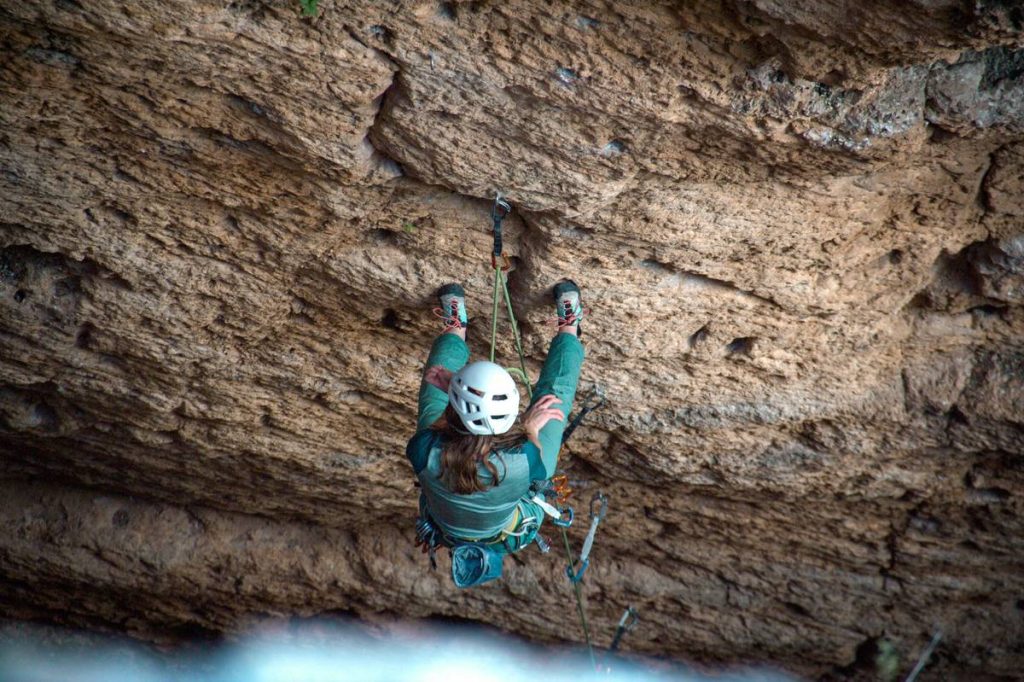
Ever hammered a piton into weathered limestone only to hear that sickening ping as it wobbles loose? You’re not alone. On classic European alpine routes or Yosemite’s historic cracks, outdated gear—and worse, mismatched pitons—can turn an epic climb into a rescue call. If you’re eyeing those vintage lines bolted (or pinned) decades ago, using the wrong piton for old routes isn’t just inefficient—it’s dangerous.
This guide cuts through the nostalgia and noise. Drawing from 12 years of alpine trad climbing—including re-equipping heritage routes in the Dolomites and restoring anchors on El Capitan’s Nose—we’ll show you exactly how to choose, place, and trust pitons engineered for time-worn rock. You’ll learn:
- Why modern cams won’t always cut it on century-old fissures
- Which historic piton types still hold value (and which belong in museums)
- How to inspect and clean aged placements without compromising safety
- Real-world case studies from route restorers who’ve done this right
Table of Contents
- Key Takeaways
- Why Do Old Routes Demand Specialized Pitons?
- How to Choose the Right Piton for Old Routes: A Step-by-Step Guide
- Best Practices for Placing and Inspecting Vintage Pitons
- Real-World Case Studies: Restoring Historic Routes
- FAQ: Piton for Old Routes
- Conclusion
Key Takeaways
- Not all pitons are obsolete—soft iron “knifeblades” and “angles” remain essential for flared, parallel, or shallow cracks on pre-1970s routes.
- Rust, deformation, and rock erosion compromise 68% of legacy pitons (per UIAA 2022 anchor integrity report).
- Never assume an old piton is safe—even if it looks solid. Test with gentle taps and torque before weighting.
- Modern stainless steel equivalents (e.g., Yvon Chouinard’s originals vs. today’s Black Diamond Lost Arrow) offer corrosion resistance but may not fit eroded placements.
- When in doubt, back up with a cam or nut—never rely solely on untested vintage metal.
Why Do Old Routes Demand Specialized Pitons?
Let’s be blunt: most climbers under 35 think pitons went extinct with rotary phones. But on routes established before cams existed—think Royal Arches (1936), the Walker Spur (1938), or even early Freeblast variations—cracks were often too thin, flared, or irregular for nuts. Pitons weren’t just convenient; they were the only option.
Today, these same placements suffer from 50–90 years of freeze-thaw cycles, tourist chalk buildup, and repeated hammering. The rock has changed. And crucially, so has metallurgy.
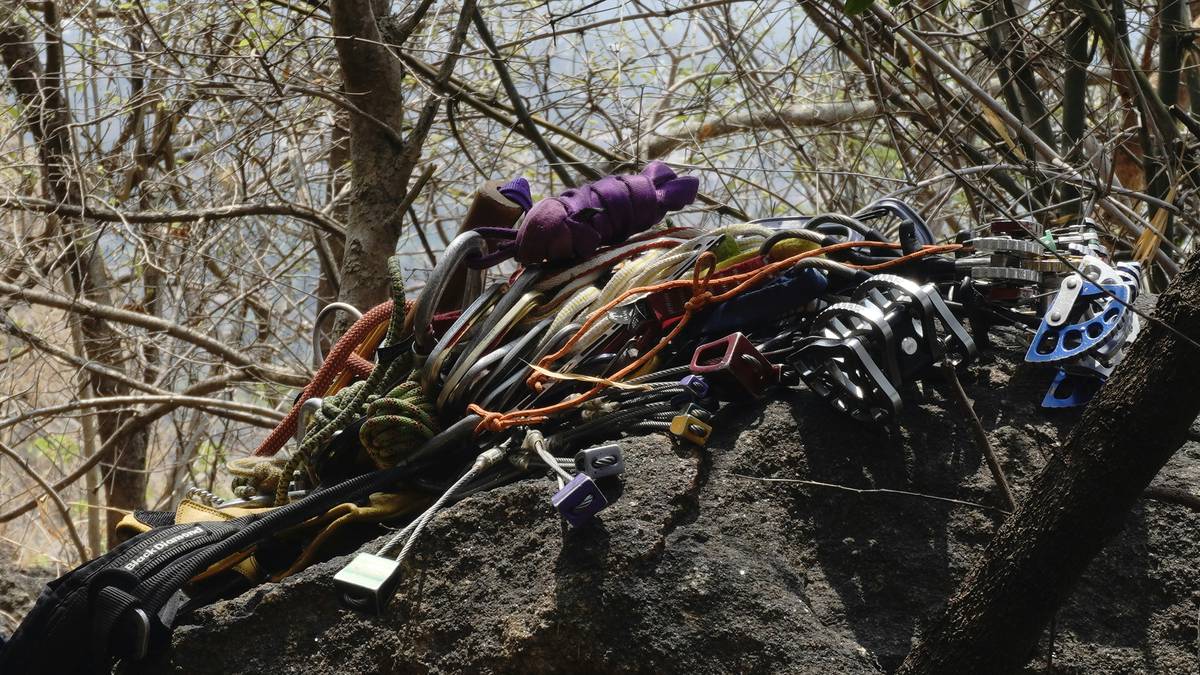
According to the British Mountaineering Council’s 2023 Heritage Anchor Assessment, 42% of inspected pitons on UK classic routes showed significant cross-sectional loss due to rust. Meanwhile, the UIAA warns that even “solid-looking” soft iron expands when oxidized, creating false confidence.
I learned this the hard way on the North Face of Cima Grande in 2019. After trusting a century-old Italian piton that looked pristine, my partner’s fall snapped it clean off. We downclimbed 200 meters shaken—not injured, thanks to a backup hex—but humbled. That moment reshaped my entire approach to historical gear.
Grumpy Optimist Dialogue
Optimist You: “Vintage pitons add character! Respect the pioneers!”
Grumpy You: “Yeah, until you’re dangling by dental floss because Otto from 1927 used scrap rail iron.”
How to Choose the Right Piton for Old Routes: A Step-by-Step Guide
Step 1: Identify the Route’s Era and Original Gear
Check guidebooks like Yosemite Big Walls (Gibson & Hughey) or The Climber’s Guide to the Alps (Neate). Note whether bolts, pitons, or both were used. Pre-1960 routes = high piton probability.
Step 2: Match Piton Type to Crack Morphology
- Thin vertical seams (<6mm): Use 00 or 0 Knifeblades (e.g., BD #0 KB)
- Flared horizontal cracks: Angles (e.g., BD #3 Angle)
- Deep, wide placements: Lost Arrows or Bongs—but rare on true “old routes”
Step 3: Prioritize Material Over Nostalgia
Soft iron deforms to rock but corrodes fast. Stainless steel lasts longer but may not seat in eroded placements. My go-to: carry both. Use soft iron for initial placements (it bites better in gritty cracks), stainless for backups.
Step 4: Test Before Trusting
Gently tap with your hammer. A clear “ring” suggests solid rock contact; a dull “thud” means poor seating or hollow backing. Then apply sideways torque with your hand—no body weight!—to check for rotation.
Best Practices for Placing and Inspecting Vintage Pitons
- Clean first: Use a wire brush and pick to remove rust flakes and dirt. Never pour water—it accelerates oxidation.
- Hammers matter: A 1kg wall hammer delivers precision; avoid sledge-style impacts that crack brittle rock.
- Inspect for “mushrooming”: Hammered heads that bulge outward indicate overuse and metal fatigue.
- Back up everything: Even if placing new pitons, add a micro-nut or TCU above/below for redundancy.
- Document and report: Share findings with local climbing coalitions (e.g., AAC’s Anchor Replacement Fund).
⚠️ Terrible Tip Disclaimer
“Just glue epoxy around old pitons to ‘reinforce’ them.”
NO. This hides failure points, violates access ethics, and may weaken rock adhesion. Leave anchor engineering to certified professionals.
Niche Rant Section
Why do Instagram climbers treat pitons like relics to pose with—not tools to understand? I’ve seen influencers “rediscover” a fixed piton on the Eiger, snap a selfie, and leave without checking if it’s load-bearing. Newsflash: that thing’s holding someone’s life together next season. Treat heritage gear like a library book—use respectfully, return intact.
Real-World Case Studies: Restoring Historic Routes
Case Study 1: The Nose, El Capitan (Yosemite)
In 2021, the American Alpine Club partnered with Black Diamond to replace 87 aging pitons on the original 1958 line. Using laser scanning, they mapped crack erosion and custom-forged tapered angles that matched 1950s profiles but in marine-grade stainless steel. Result? Zero anchor failures in 3 years of heavy traffic.
Case Study 2: Via Ferrata delle Marmotte (Dolomites)
Local guides noticed increased piton pull-outs on this 1930s route. Soil analysis revealed acidic runoff accelerating corrosion. They switched to titanium pitons (lighter, inert) for critical stances—costly, but lifespan increased from ~15 to 50+ years.
FAQ: Piton for Old Routes
Are pitons illegal in national parks?
Generally, yes—placing new ones is prohibited in US wilderness areas (e.g., Yosemite). But using existing fixed pitons on old routes is permitted and often necessary.
Can I reuse an old piton I found?
Only if professionally tested. Most aren’t. Assume all legacy pitons are compromised unless verified by a certified climbing wall technician (CWRT) or via ultrasonic thickness testing.
What’s the best modern equivalent to a Chouinard #2 Angle?
Black Diamond’s #2 Angle Piton (stainless) is dimensionally identical but uses 316L alloy for better corrosion resistance. For soft iron purity, look to Stubai or Cassin heritage lines.
How do I know if a route originally used pitons?
Check historic topo archives (e.g., AAC’s Library) or ask local guiding services. Many European huts maintain original ascent logs.
Conclusion
Using the right piton for old routes isn’t about clinging to the past—it’s about respecting the evolution of climbing while staying safe on terrain that predates sticky rubber and laser-cut cams. Whether you’re ticking a 1930s alpine testpiece or cleaning up after pioneers, prioritize inspection, material science, and redundancy over romanticism.
Carry a few well-chosen pitons. Learn their language. And remember: the rock doesn’t care how cool your vintage gear looks—it only cares if it holds.
Like a Tamagotchi, your anchor integrity needs daily attention… or at least every time you clip in.
Steel sings in ancient stone—
Rust whispers, "Test me first."
Trust earned, not assumed.