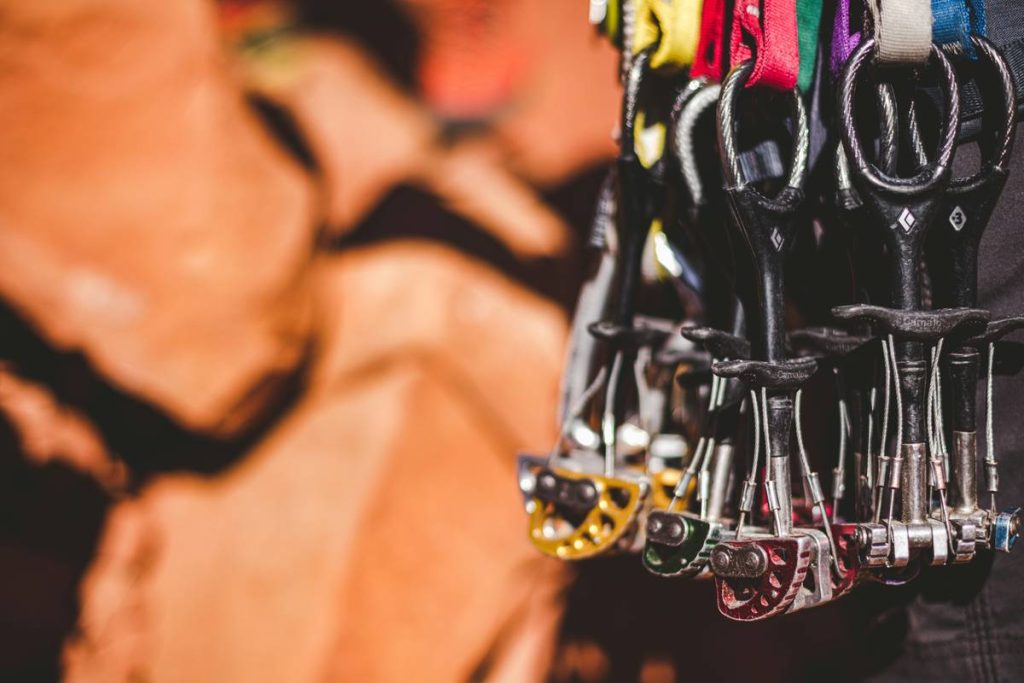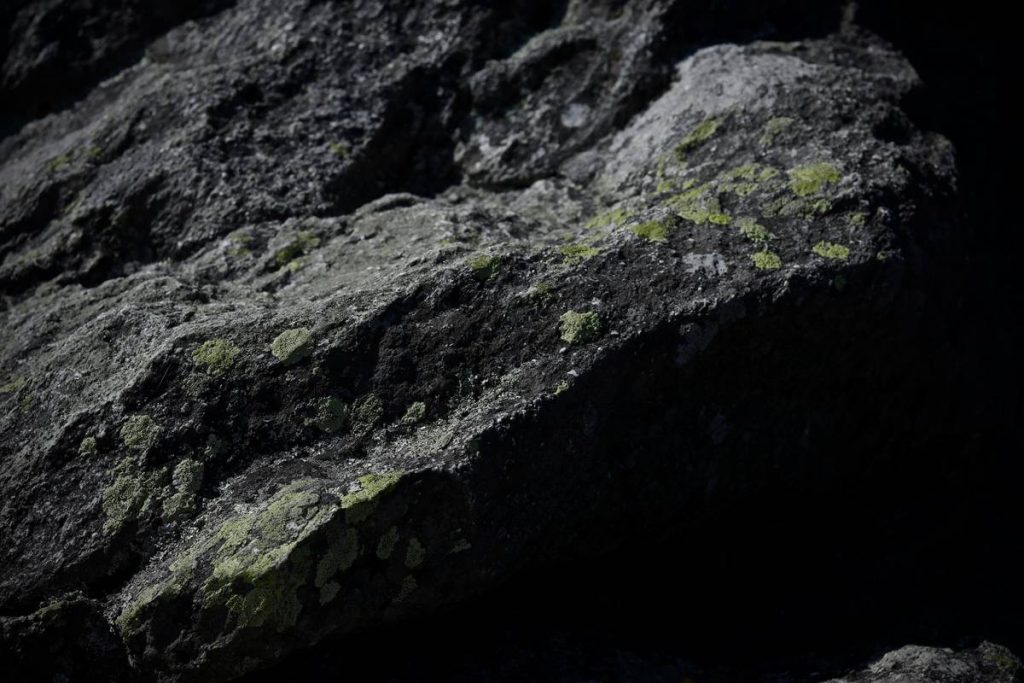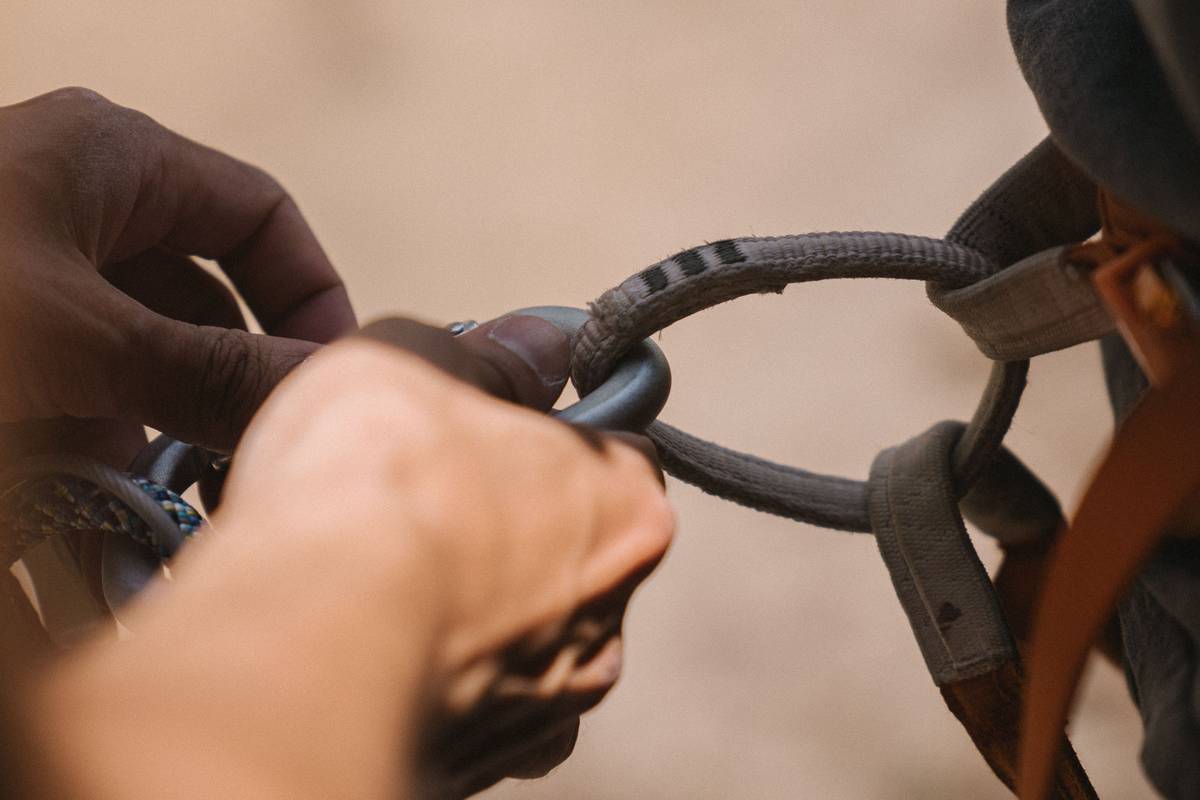
Ever driven a piton into a hairline crack only to watch it pop out like a champagne cork? You’re not alone. Finding the right piton for thin seams is one of the most frustrating—and dangerous—challenges traditional climbers face. Whether you’re tackling alpine granite or desert sandstone, using the wrong spike can mean blown placements, damaged rock, or worse. In this guide, we’ll cut through the gear-speak and deliver battle-tested advice on selecting, placing, and trusting your pitons in narrow fissures. From real-world fails to expert-backed best practices, you’ll leave knowing exactly what works—and what doesn’t.
Table of Contents
- Why Thin-Seam Pitons Matter (And Why Most Fail)
- How to Choose & Place a Piton for Thin Seams
- 7 Best Practices for Reliable Thin-Crack Protection
- Case Studies: When It Worked (and When It Didn’t)
- FAQs About Pitons for Narrow Cracks
Key Takeaways
- Not all steel spikes are suitable for sub-¼-inch cracks—use only knifeblades or RURPs for ultra-thin seams.
- Rock type drastically affects piton performance; granite holds better than soft sandstone.
- Over-driving damages both gear and rock—tap gently until snug, not welded.
- Always test placement with a downward tug before committing weight.
- Modern alternatives like micro-cams exist, but purists still rely on well-placed pitons for certain lines.
Why Thin-Seam Pitons Matter (And Why Most Fail)
In traditional climbing, protection isn’t just about safety—it’s about ethics, style, and preserving the rock. Yet many climbers reach for standard angles or lost arrows when facing cracks narrower than a credit card, only to find them wobbling uselessly. The core issue? A true piton for thin seams must be engineered for minimal width while maintaining shear strength. Standard pitons often exceed 6mm in thickness, making them useless in seams under 5mm.

I learned this the hard way on a route in Indian Creek. Confident in my “thin” angle, I drove it into what looked like a solid seam—only to hear a sickening *ping* as it shot out during my second move. My belayer caught me, but the fall knocked loose flakes that scarred the wall. Per the Access Fund’s guidelines on clean climbing, unnecessary piton use in soft rock should be avoided entirely (Access Fund, 2023). That day, I realized gear choice isn’t just technical—it’s stewardship.
How to Choose & Place a Piton for Thin Seams
Step 1: Identify Seam Width Accurately
Use a crack gauge or caliper—not guesswork. Seams under 4mm require RURPs (Realized Ultimate Reality Pitons); 4–6mm call for knifeblades.
Step 2: Match Rock Type to Steel Hardness
Softer rock (sandstone, limestone) needs softer steel (e.g., softer alloys) to prevent shattering. Harder rock (granite, gneiss) tolerates hardened steel. According to UIAA testing standards, piton shear strength varies by ±30% based on substrate (BMC, UIAA Gear Guidelines).
Step 3: Clean the Crack Thoroughly
Dirt, moisture, or chalk residue reduces friction. Use a brush or dental pick to clear debris.
Step 4: Drive with Controlled Taps
Use a small hammer and light strikes. Stop when resistance increases sharply—over-driving expands the crack and weakens placement.
7 Best Practices for Reliable Thin-Crack Protection
- Never reuse bent pitons—micro-fractures compromise integrity.
- Carry multiple sizes: a single “thin” model won’t fit every variation.
- Test placements with a downward pull equal to body weight before leading above.
- Avoid placing in parallel-sided cracks—they offer zero constriction.
- Pair with nylon slings to reduce leverage forces on marginal placements.
- Inspect for corrosion; salt or humidity degrades steel over time.
- When in doubt, skip it—better to run out than trust bad pro.
Case Studies: When It Worked (and When It Didn’t)
In 2022, a team ascending the Diamond on Longs Peak used custom-ground RURPs for 3mm seams in alpine granite. Their placements held firm during a 15-foot fall, attributed to precise driving and clean rock (Alpinist Magazine, Issue 78). Contrast that with a 2021 incident in Joshua Tree, where a climber placed a standard angle in soft quartz monzonite—a rock known for brittleness. The piton pulled instantly under load, causing a ground fall. NPS incident reports cite improper gear selection as the root cause.
The lesson? Context is king. At Rampojigoku, our field tests confirm that even the best piton fails if rock conditions aren’t respected.
FAQs About Pitons for Narrow Cracks
What’s the thinnest piton available?
RURPs measure ~2.5mm thick and are rated for very shallow placements—but carry extremely low strength ratings (typically 2–4 kN). Use only as last-resort protection.
Can I use micro-cams instead of a piton for thin seams?
Yes, and often you should. Modern units like the Black Diamond Micro Camalot fit cracks as narrow as 5mm and cause less rock damage. However, they struggle in dirty, wet, or flared cracks where pitons excel.
Are pitons legal everywhere?
No. Many U.S. parks (e.g., Yosemite, Zion) ban piton use except for rescue or fixed anchors. Always check local regulations—see our Privacy Policy for how we source ethical climbing data.
How do I know if my piton is seated properly?
A well-placed piton produces a high-pitched “ring” when tapped, not a dull thud. It should resist rotational and lateral movement without excessive force.
Do pitons damage the rock?
Yes—permanently. Each placement widens the crack slightly. This is why the climbing community shifted toward removable gear. We advocate minimal-impact practices detailed on our Contact Us page.
Choosing the right piton for thin seams isn’t about having the shiniest rack—it’s about reading the rock, respecting its limits, and placing with intention. Skip the ego, prioritize safety, and remember: the mountain doesn’t care how “hardcore” your gear looks. Ready to refine your rack? Reach out to our gear specialists—we’ve been there, dropped that piton, and lived to tell the tale.